

Have you ever struggled to explain a technical issue or demonstrate a process on your computer because the screenshots just aren’t enough? Whether you are trying to create a tutorial, capture gameplay, or save a video call, explaining complex tasks without the right tools can be frustrating and time-consuming.
You might have experienced that sense of panic when you need to record something urgently, only to realize you don’t know how to do it, or maybe you’ve spent hours searching for the right software, only to be flooded with complicated options and features that seem unnecessary.
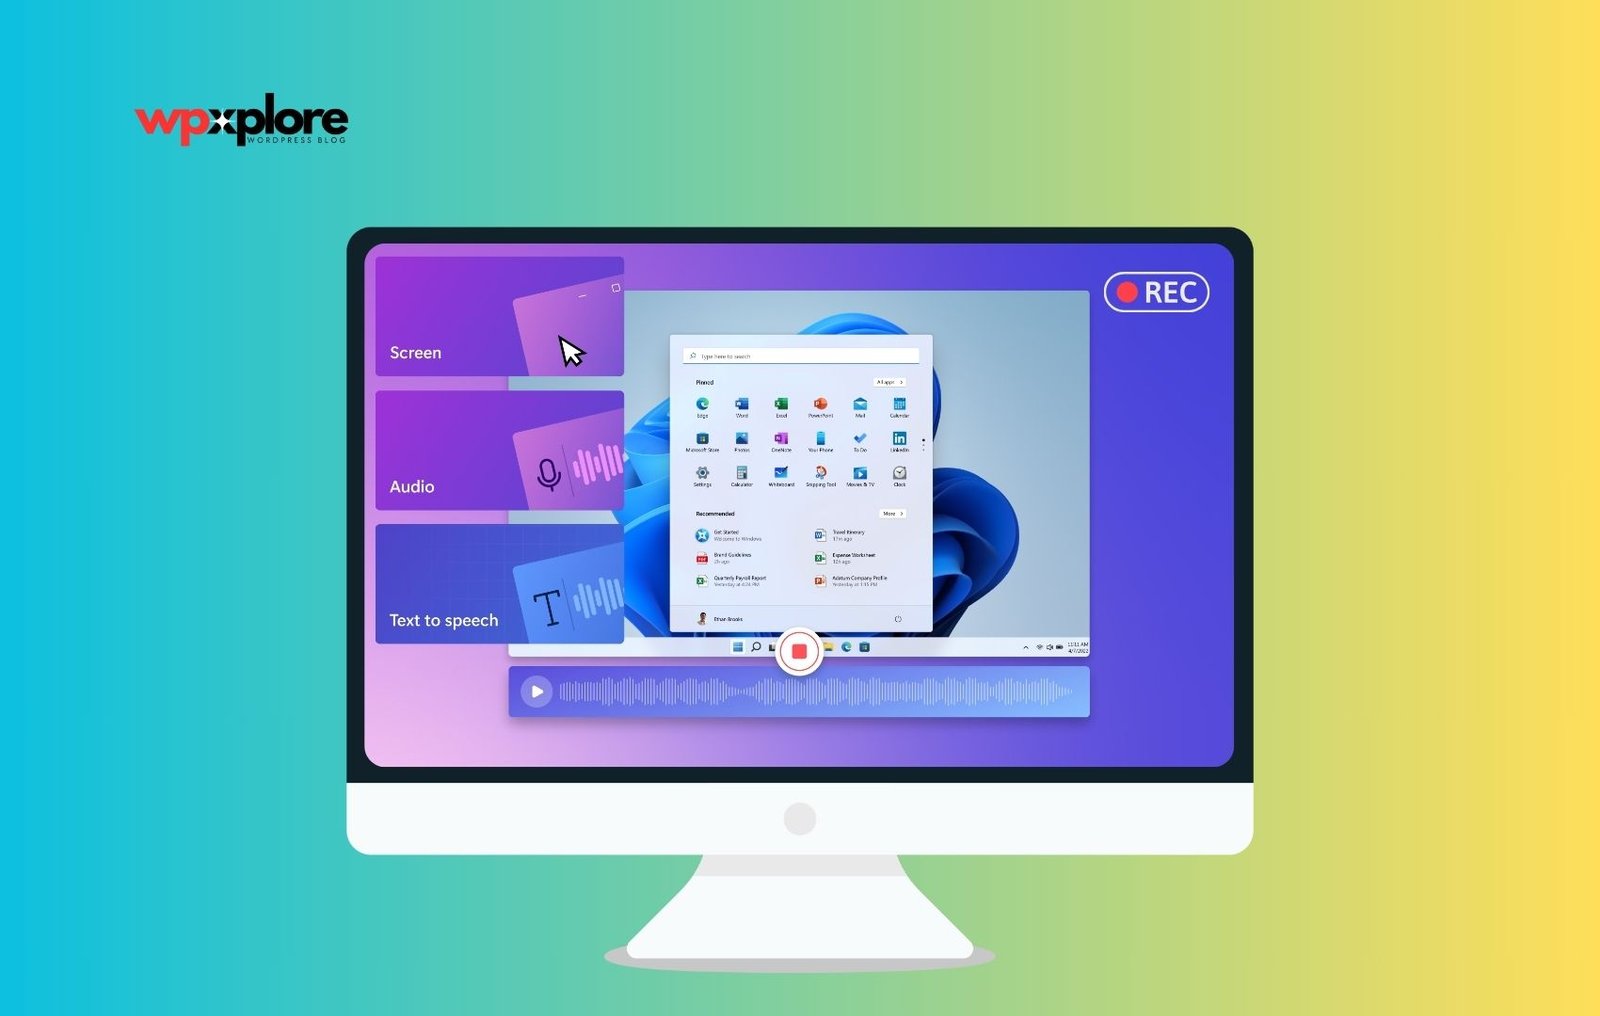
Fortunately, both Mac and Windows PCs have straightforward, built-in tools that make screen recording easy and efficient. This guide will provide step-by-step instructions on how to record the screen on your Mac or Windows PC.
Record the Screen on Your Mac
Contents
Mac users have a couple of built-in options for screen recording: QuickTime Player and the Screenshot Toolbar.
1. Using QuickTime player
QuickTime Player is a versatile media player that comes pre-installed on all Macs and can also be used for screen recording. Here’s how to use it:
i. Open QuickTime player

You can find it in the Applications folder or by searching for it using Spotlight.
ii. Start a new screen recording

Click “File” in the menu bar and select “New Screen Recording.” A small recording window will appear.
iii. Choose recording options

Click the arrow next to the record button to select microphone input (if you want to record audio) and other options.
iv. Start recording

Click the red record button. You can record the entire screen or just a portion of it. Drag the cursor to select the area you want to record, then click “Start Recording.”
v. Stop recording

Click the stop button in the menu bar or press “Command” + “Control” + “Esc” to stop recording. Your Recording will automatically open in QuickTime Player for you to view and save.
2. Using the screenshot toolbar (macOS Mojave and later)
If you’re using macOS Mojave or later, the Screenshot Toolbar provides a more streamlined way to record your screen:
i. Open the screenshot toolbar
Press “Command” + “Shift” + “5″ on your keyboard. A toolbar will appear at the bottom of the screen.
ii. Select the recording option
In the toolbar, you’ll see options to record the entire screen or a selected portion. Choose your preferred choice.
iii. Record audio (optional)
To include audio, click “Options” and select the microphone you want to use.
iv. Start recording
Click the “Record” button on the right side of the toolbar.
v. Stop recording
To stop, click the stop button in the menu bar or press “Command” + “Control” + “Esc.” Your Recording will appear as a thumbnail in the bottom-right corner of the screen. Click it to view, edit, or save it.
Record the screen on your Windows PC
Windows 10 and Windows 11 come with a built-in screen recording feature called the Xbox Game Bar.
Using the Xbox game bar
The Xbox Game Bar is designed for gamers but works well for general screen recording:
i. Open the Xbox game bar

Press the “Windows” key + “G” on your keyboard. The Game Bar will appear as an overlay.
ii. Access the capture widget
In the Game Bar overlay, locate the “Capture” widget (usually a small camera icon). If you don’t see it, click the “Widgets” menu and select “Capture“
iii. Start recording

Click the circular record button in the Capture widget to start recording. If you want to record audio, ensure the microphone icon is enabled.
iv. Stop recording
To stop recording, click the square stop button in the Capture widget or press the “Windows” key + “Alt” + “R.” By default, the video will be saved in the “Captures” folder inside the “Videos” folder.
Top 6 Third-Party Apps for Mac and Windows PC
Here’s a list of the top 5 third-party screen recording apps for both Mac and Windows PC, with overviews, key features, and pricing details:
1. OBS Studio

OBS Studio (Open Broadcaster Software) is a free, open-source screen recording and live streaming software widely used by gamers, educators, and content creators. It offers powerful features for capturing high-quality video and audio, making it ideal for both professional and casual users.
Key features
- Capture from multiple sources, such as screens, webcams, and microphones simultaneously.
- Record high-definition video with minimal system resource usage.
- Add professional touches with transitions, filters, and scene transitions.
- Stream directly to platforms like YouTube, Twitch, and Facebook Live.
- Preview scenes and sources before transitioning them live, which is ideal for polished productions.
- Available for Mac, Windows, and Linux.
Price
It’s a Free app for both Mac and Windows PC.
2. Camtasia

Camtasia by TechSmith is a premium screen recording and editing software perfect for creating polished and professional videos. It combines screen recording capabilities with powerful editing tools, making it popular among educators, marketers, and tutorial creators.
Key features
- Offers drag-and-drop editing, animations, and transitions to enhance recordings.
- Speed up video creation with customizable templates and themes.
- Easily add text, shapes, and effects to highlight important information.
- Include quizzes and clickable links to make videos interactive.
- Edit multiple video and audio tracks with precision.
- Share videos directly to YouTube, Vimeo, and other platforms.
Price
One-time purchase at $299.99 (with discounts available for educational use).
3. Snagit

Also developed by TechSmith, Snagit is a user-friendly screen capture and recording tool focused on simplicity and ease of use. It is ideal for users who need to create quick tutorials, capture images, or record videos with minimal effort.
Key features
- Quickly capture a full screen, a specific window, or a selected area.
- Record screen actions with or without audio, including webcam overlay.
- Add arrows, text, and callouts to screenshots for clarity.
- Capture long web pages or documents that require scrolling.
- Integrates with Microsoft Office, Google Drive, and other popular tools.
- Offers essential editing tools to crop, resize, and enhance screenshots.
Price
One-time purchase at $62.99 (with discounts available for educational use).
4. ScreenPal

ScreenPal is an easy-to-use screen recording software that is accessible to beginners while still offering advanced features for professionals. It’s a web-based tool that provides screen recording, video editing, and hosting services.
Key features
- Record screen, webcam, or both simultaneously.
- Add voice narration during or after recording.
- Essential editing tools to trim, cut, and add overlays to videos.
- Plan out recordings with scripted tools for consistency.
- Offers cloud storage and sharing options.
- Upload directly to YouTube, Google Drive, or ScreenPal’s hosting service.
Price
- Free version with limited features.
- Deluxe plan at $4/month (billed annually) for more features.
- The premier plan is $6/month (billed annually) and has additional cloud storage and features.
5. Filmora

Filmora by Wondershare is versatile video editing software with robust screen recording capabilities. It is known for its intuitive interface and extensive features, making it suitable for both beginners and advanced users looking to create professional-grade videos.
Key features
- Capture screen activities and webcam footage with sound.
- This program offers various editing tools, including filters, overlays, transitions, and motion elements.
- Includes audio mixing, noise removal, and audio equalization.
- Access a vast library of royalty-free music, sound effects, and video effects.
- Supports up to 100 video tracks for complex projects.
- Export in multiple formats and resolutions, optimized for different devices and platforms.
Price
- Free version with a watermark on exports.
- Annual subscription at $49.99/year.
- Lifetime license at $79.99 (one-time purchase).
6. Loom

Loom is a popular screen recording tool for quick and easy video communication. It allows users to record their screen, voice, and face simultaneously, making it an excellent choice for business communication, tutorials, and customer support.
Key features
- Start recording your screen, voice, and webcam with a single click.
- Share videos instantly via a link without downloading files.
- Track who watches your videos and how they interact with them.
- Trim videos, add call-to-actions, and use emojis to enhance communication.
- Set video permissions and password protection for added security.
- Integrates seamlessly with tools like Slack, Google Workspace, and Microsoft Teams.
Price
- Free plan with basic features.
- The business plan is $12.50/month per user (billed annually) and has advanced features and viewer insights.
Tips for Effective Screen Recording
Following these tips, you can create professional and effective screen recordings that communicate your message.
- Plan out your content beforehand to ensure a coherent and organized recording.
- Choose a screen recording tool that suits your needs and technical expertise.
- Set up a quiet recording environment and close unnecessary applications to minimize distractions and background noise.
- Adjust your screen resolution for clear, sharp recordings to match the output resolution.
- Before starting the entire session, perform a quick test recording to check for audio or video issues.
- Learn and use keyboard shortcuts to streamline the recording process.
- Keep your recording focused on the main task to avoid unnecessary footage.
- Use cursor effects, annotations, or zoom features to highlight necessary actions on the screen.
- Edit your recording to trim mistakes, add annotations, and enhance the overall quality.
- Export your recording in a widely supported format and appropriate resolution for your audience.
- Use compression settings to keep file sizes manageable without sacrificing too much quality.
- Practice regularly to improve your screen recording skills and efficiency.
Final Remarks
Screen recording is essential for anyone creating tutorials and presentations or sharing technical information effectively. By planning, choosing the right tools, and following best practices, you can create high-quality recordings that are clear and engaging.
Whether you are using a Mac or Windows PC, the steps outlined in this guide will help you quickly capture and share your screen content. Remember to edit and optimize your recordings for the best viewing experience.
Do you have any questions or opinions about screen recording? We’d love to hear your thoughts in the comments!


Thanks for sharing. I read many of your blog posts, cool, your blog is very good.